...
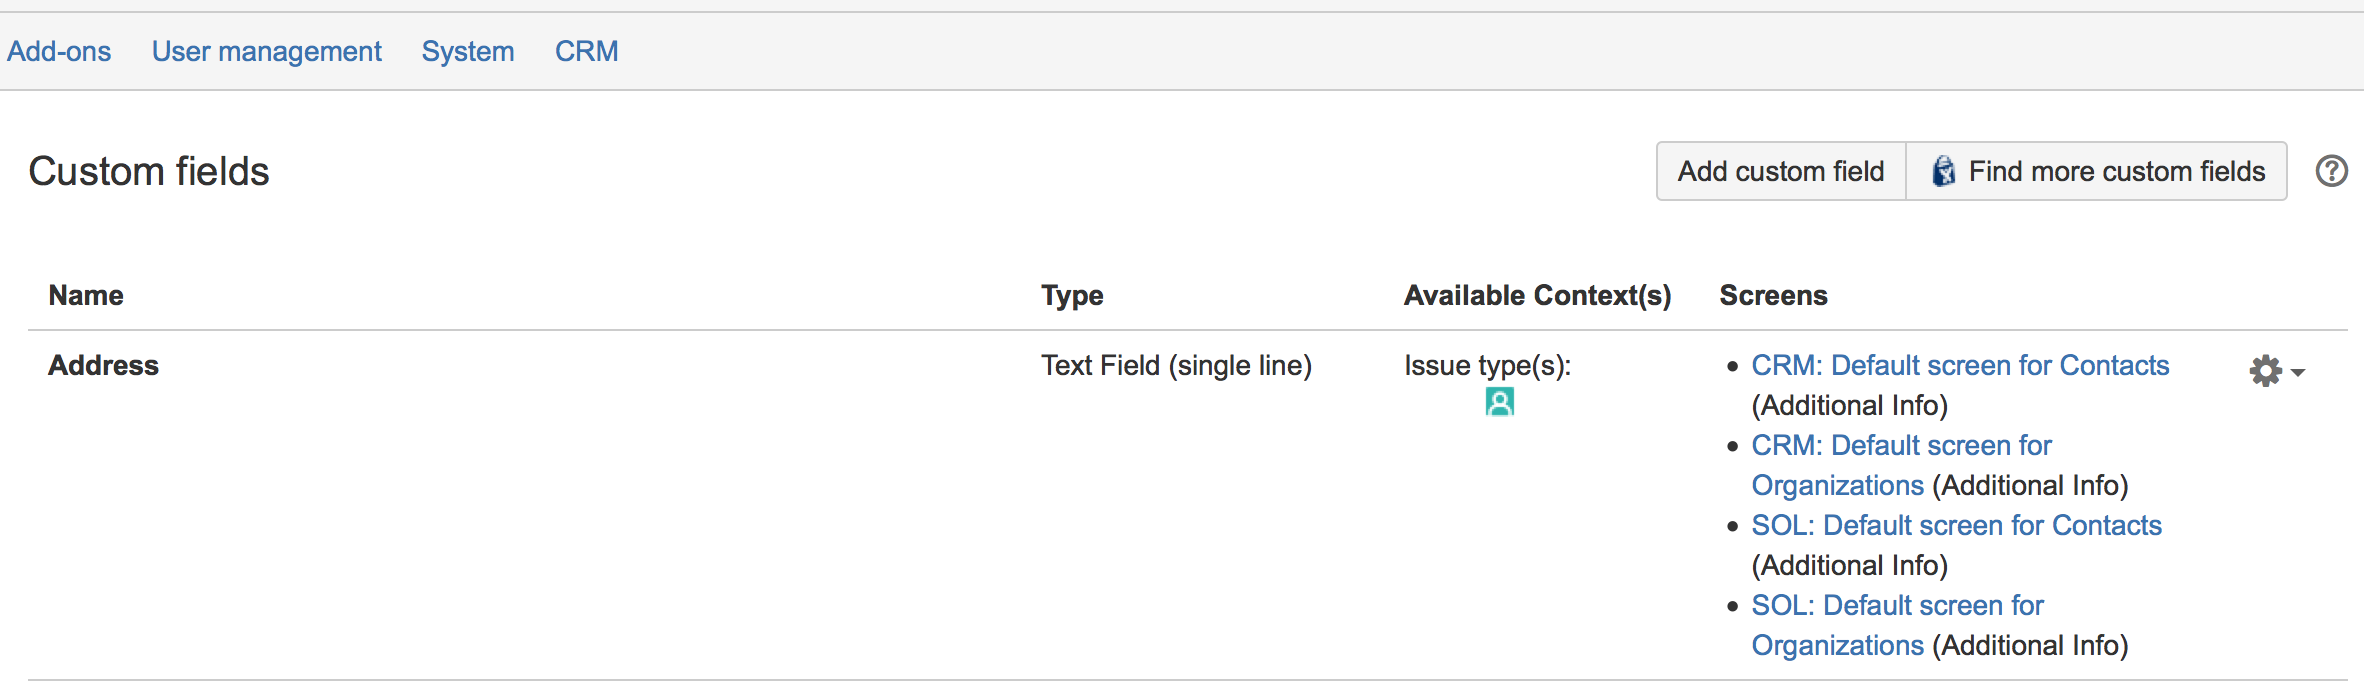
- Define the User Picker custom field. First go to /secure/admin/ViewCustomFields.jspa

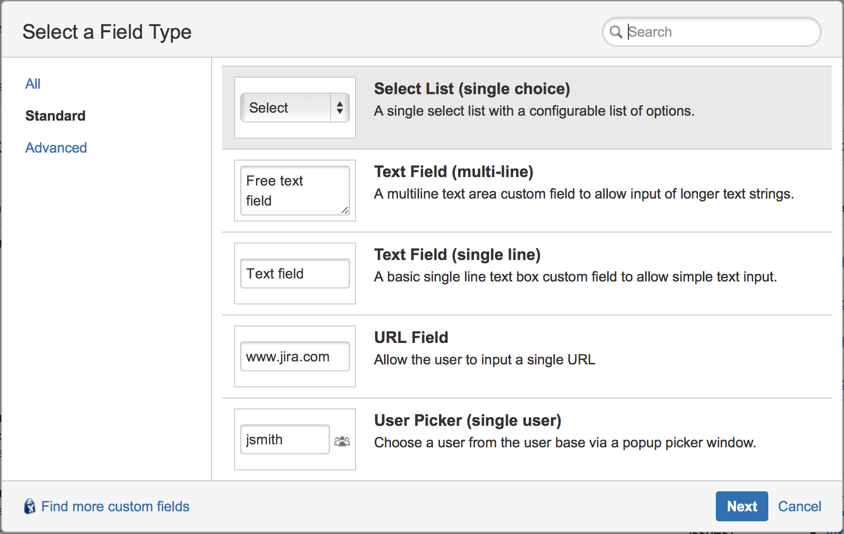
- Then click the Add custom field button. The Select a Field Type dialog will appear. Select the Standard category, and scroll down to the bottom of the list (or Search for the User Picker field type). Select User Picker (single user) and click Next button.

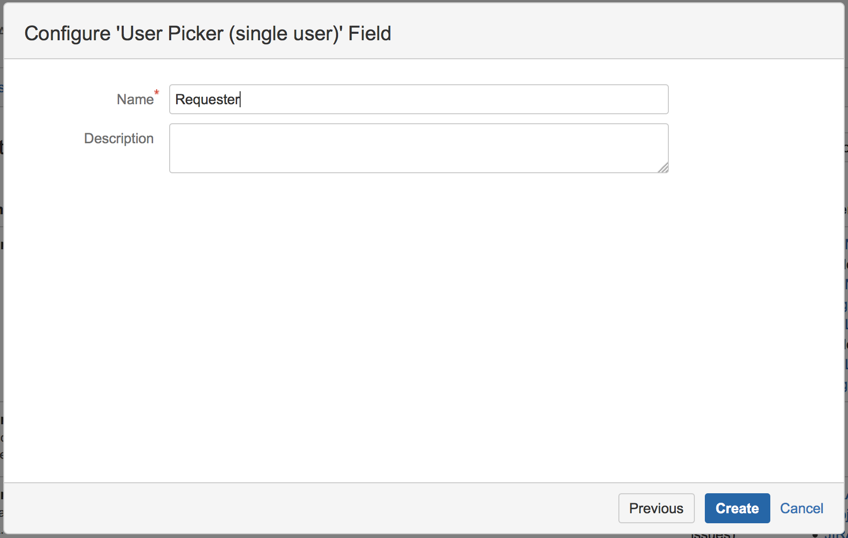
- The Configure 'User Picker (single user)' Field dialog appears and you can choose any name for the field, e.g. "Requester" or "Assistant". Then click the Create button

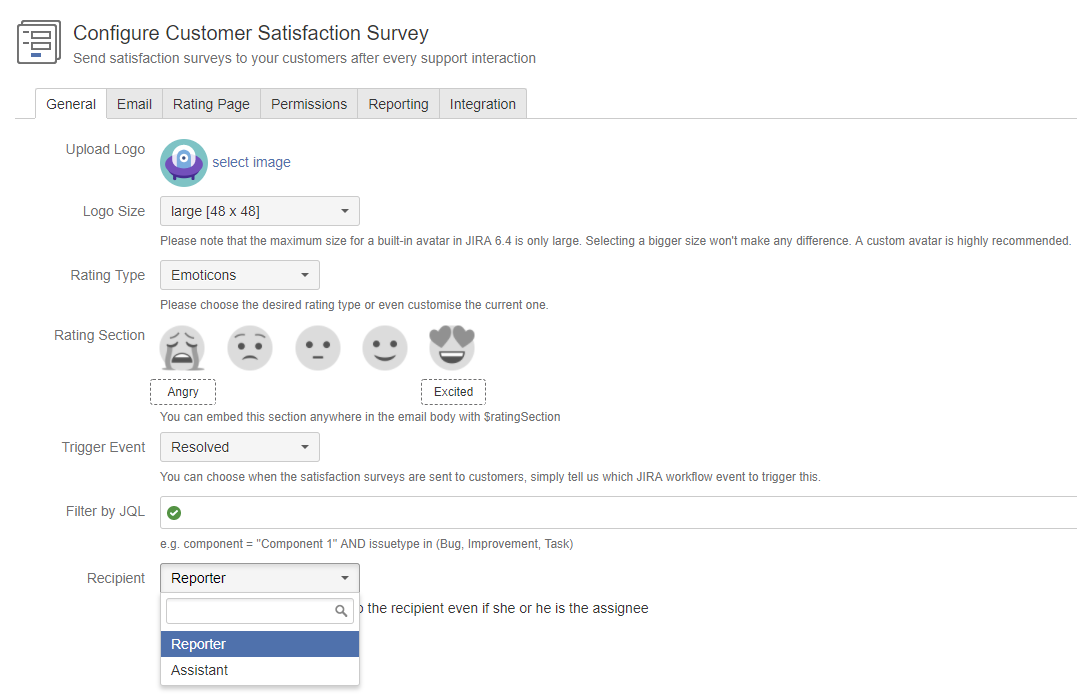
- Once done, you can go back to the Customer Satisfaction administration page. Then switch to the Advanced Options tab and check the Recipient drop-down list. The new custom field Requester/Assistant will be there.

| Info |
|---|
| You may also need to do some extra configuration steps in order to make this custom field visible in different JIRA screens. However, these steps are out of scope of this KB. |
...