Enable Kudos functionality for a project
There are 2 ways to enable Kudos for a project. If you haven’t enabled it before, you will be able to do this by just clicking on the
Kudos menu item on the project sidebar. A welcome dialog will be displayed as below:
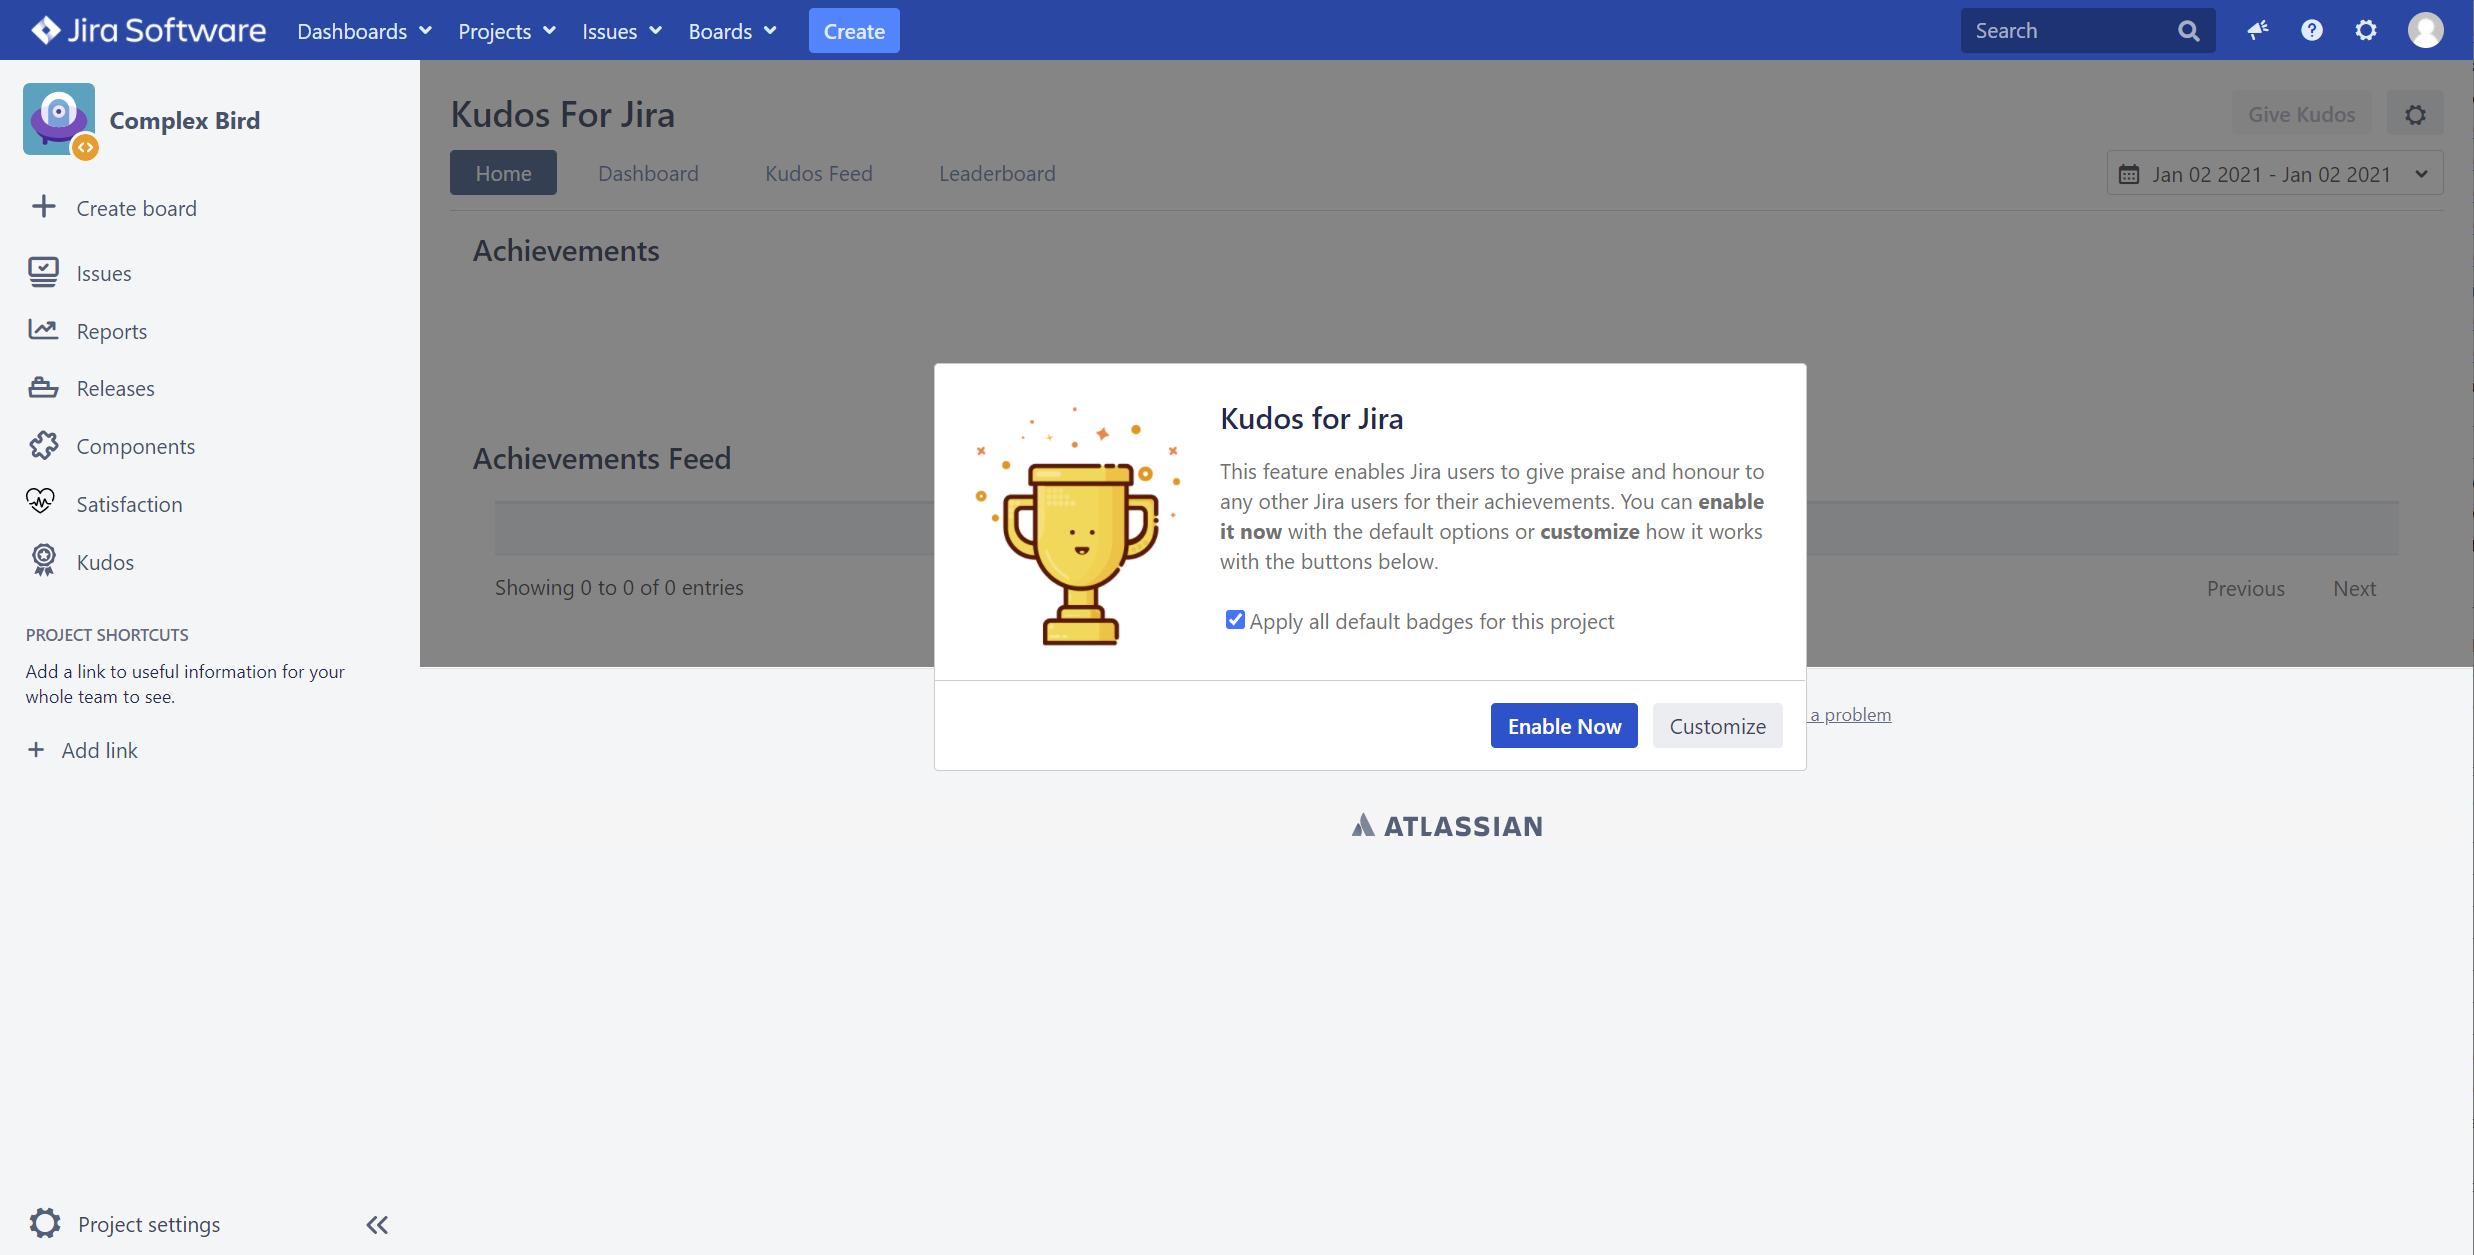
Just click Enable Now and all project users will be to give kudos to others immediately with the default options. If you want to customize how the kudos badges look like, you can click on the Customize button and you will be redirected to the Kudos Configuration screen for the project.
The Kudos functionality is enabled automatically after the Customize button is clicked.
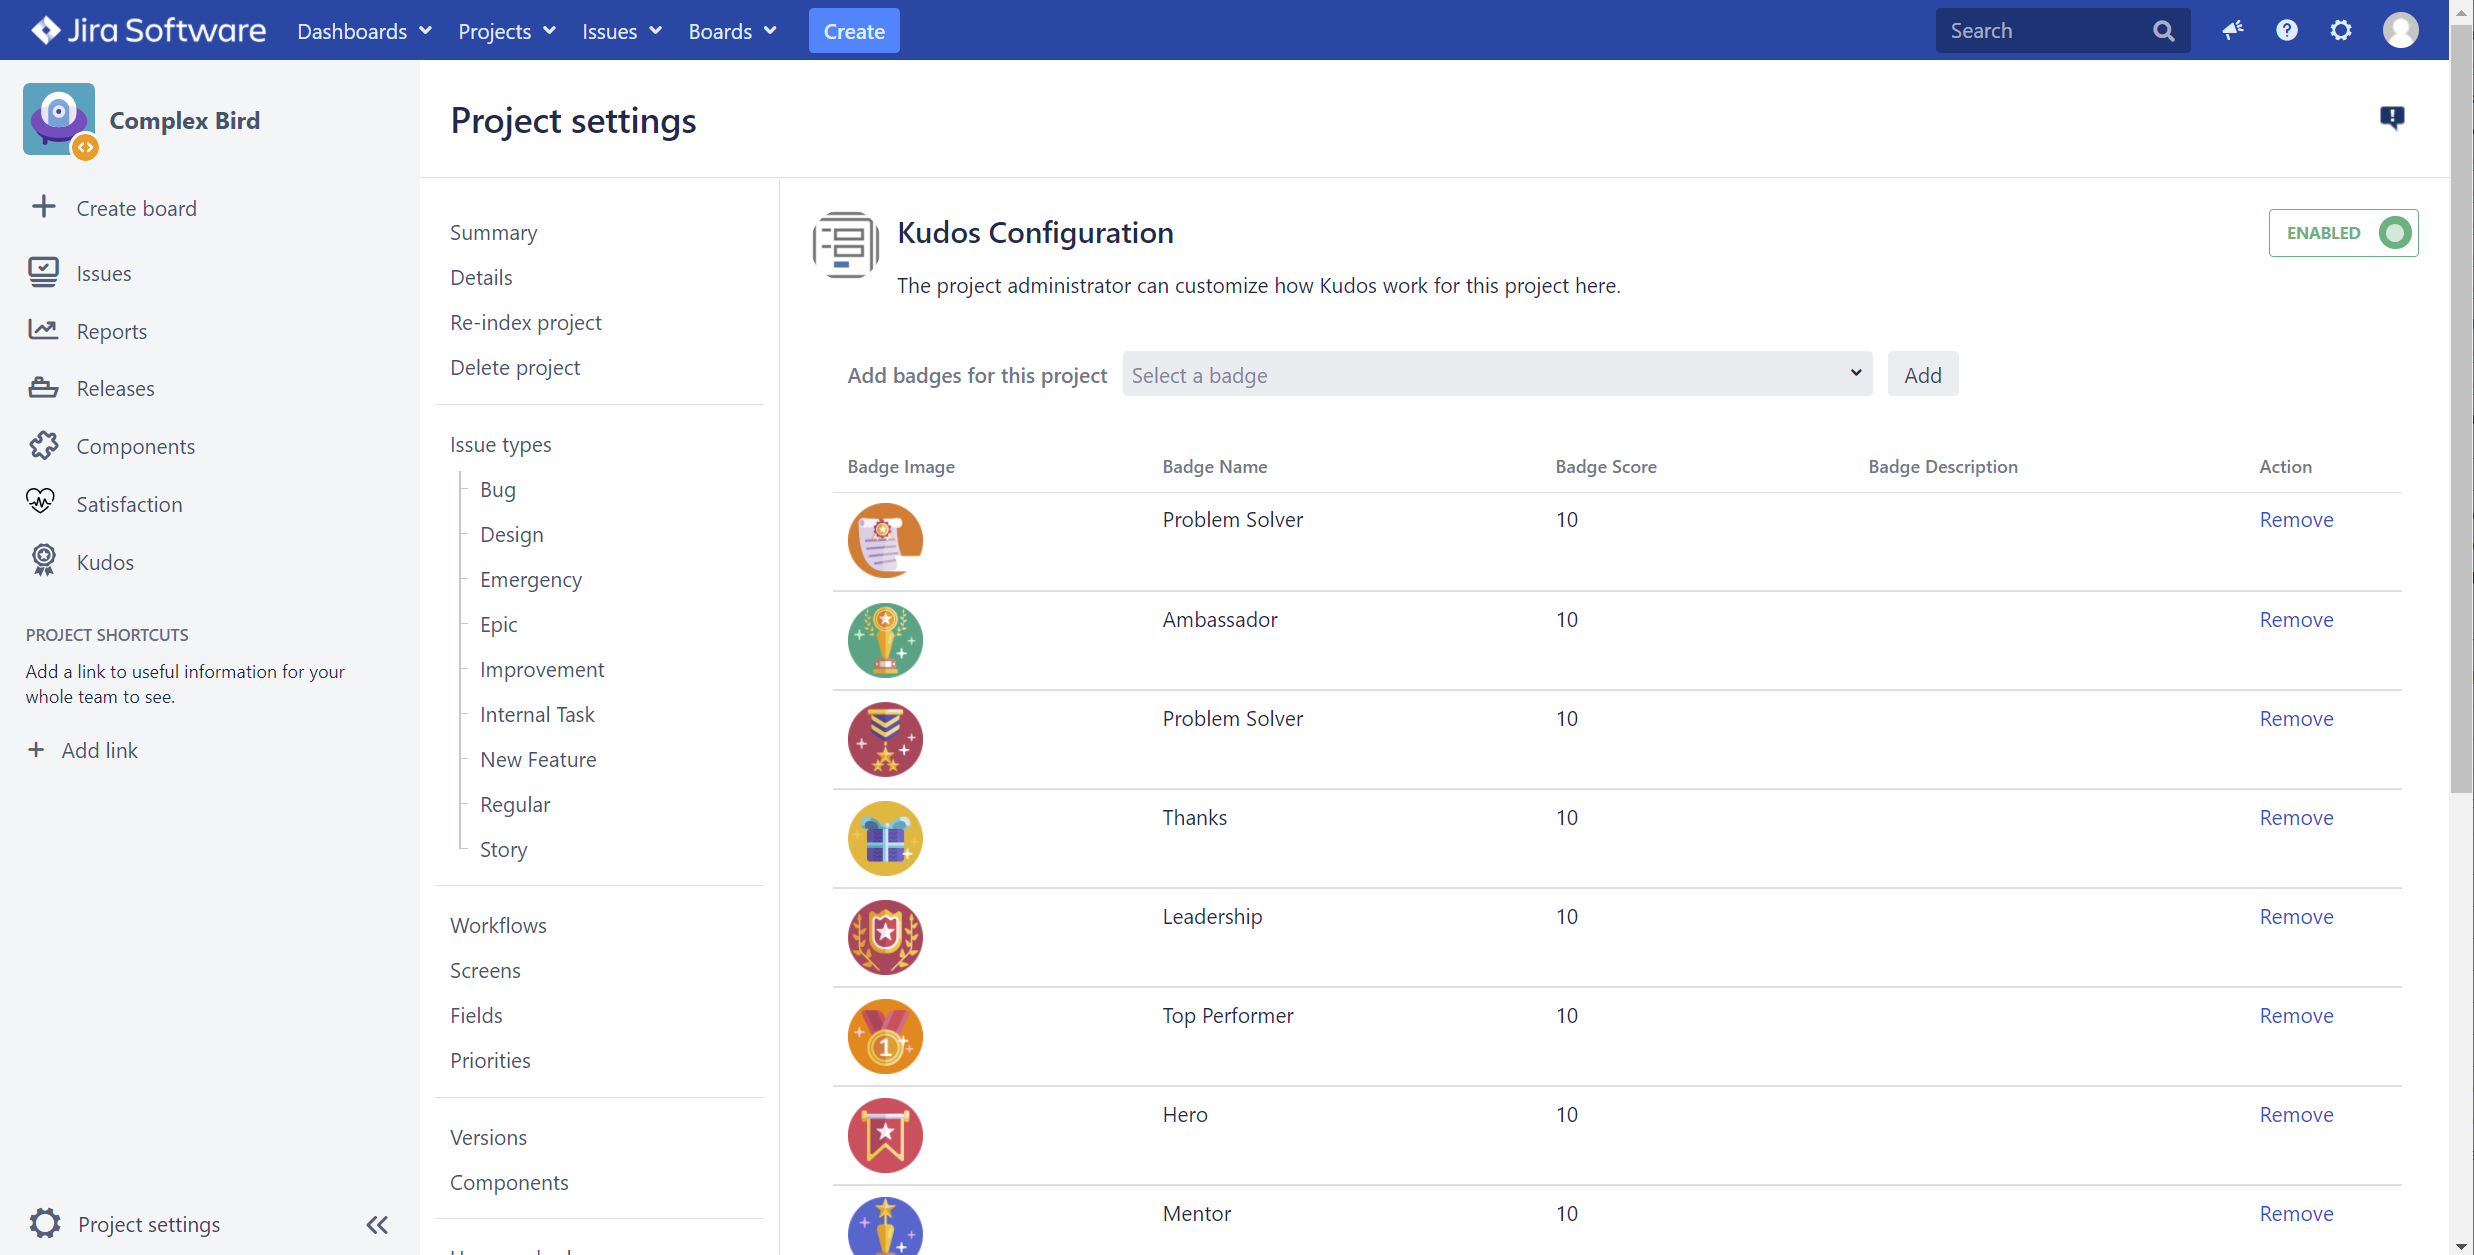
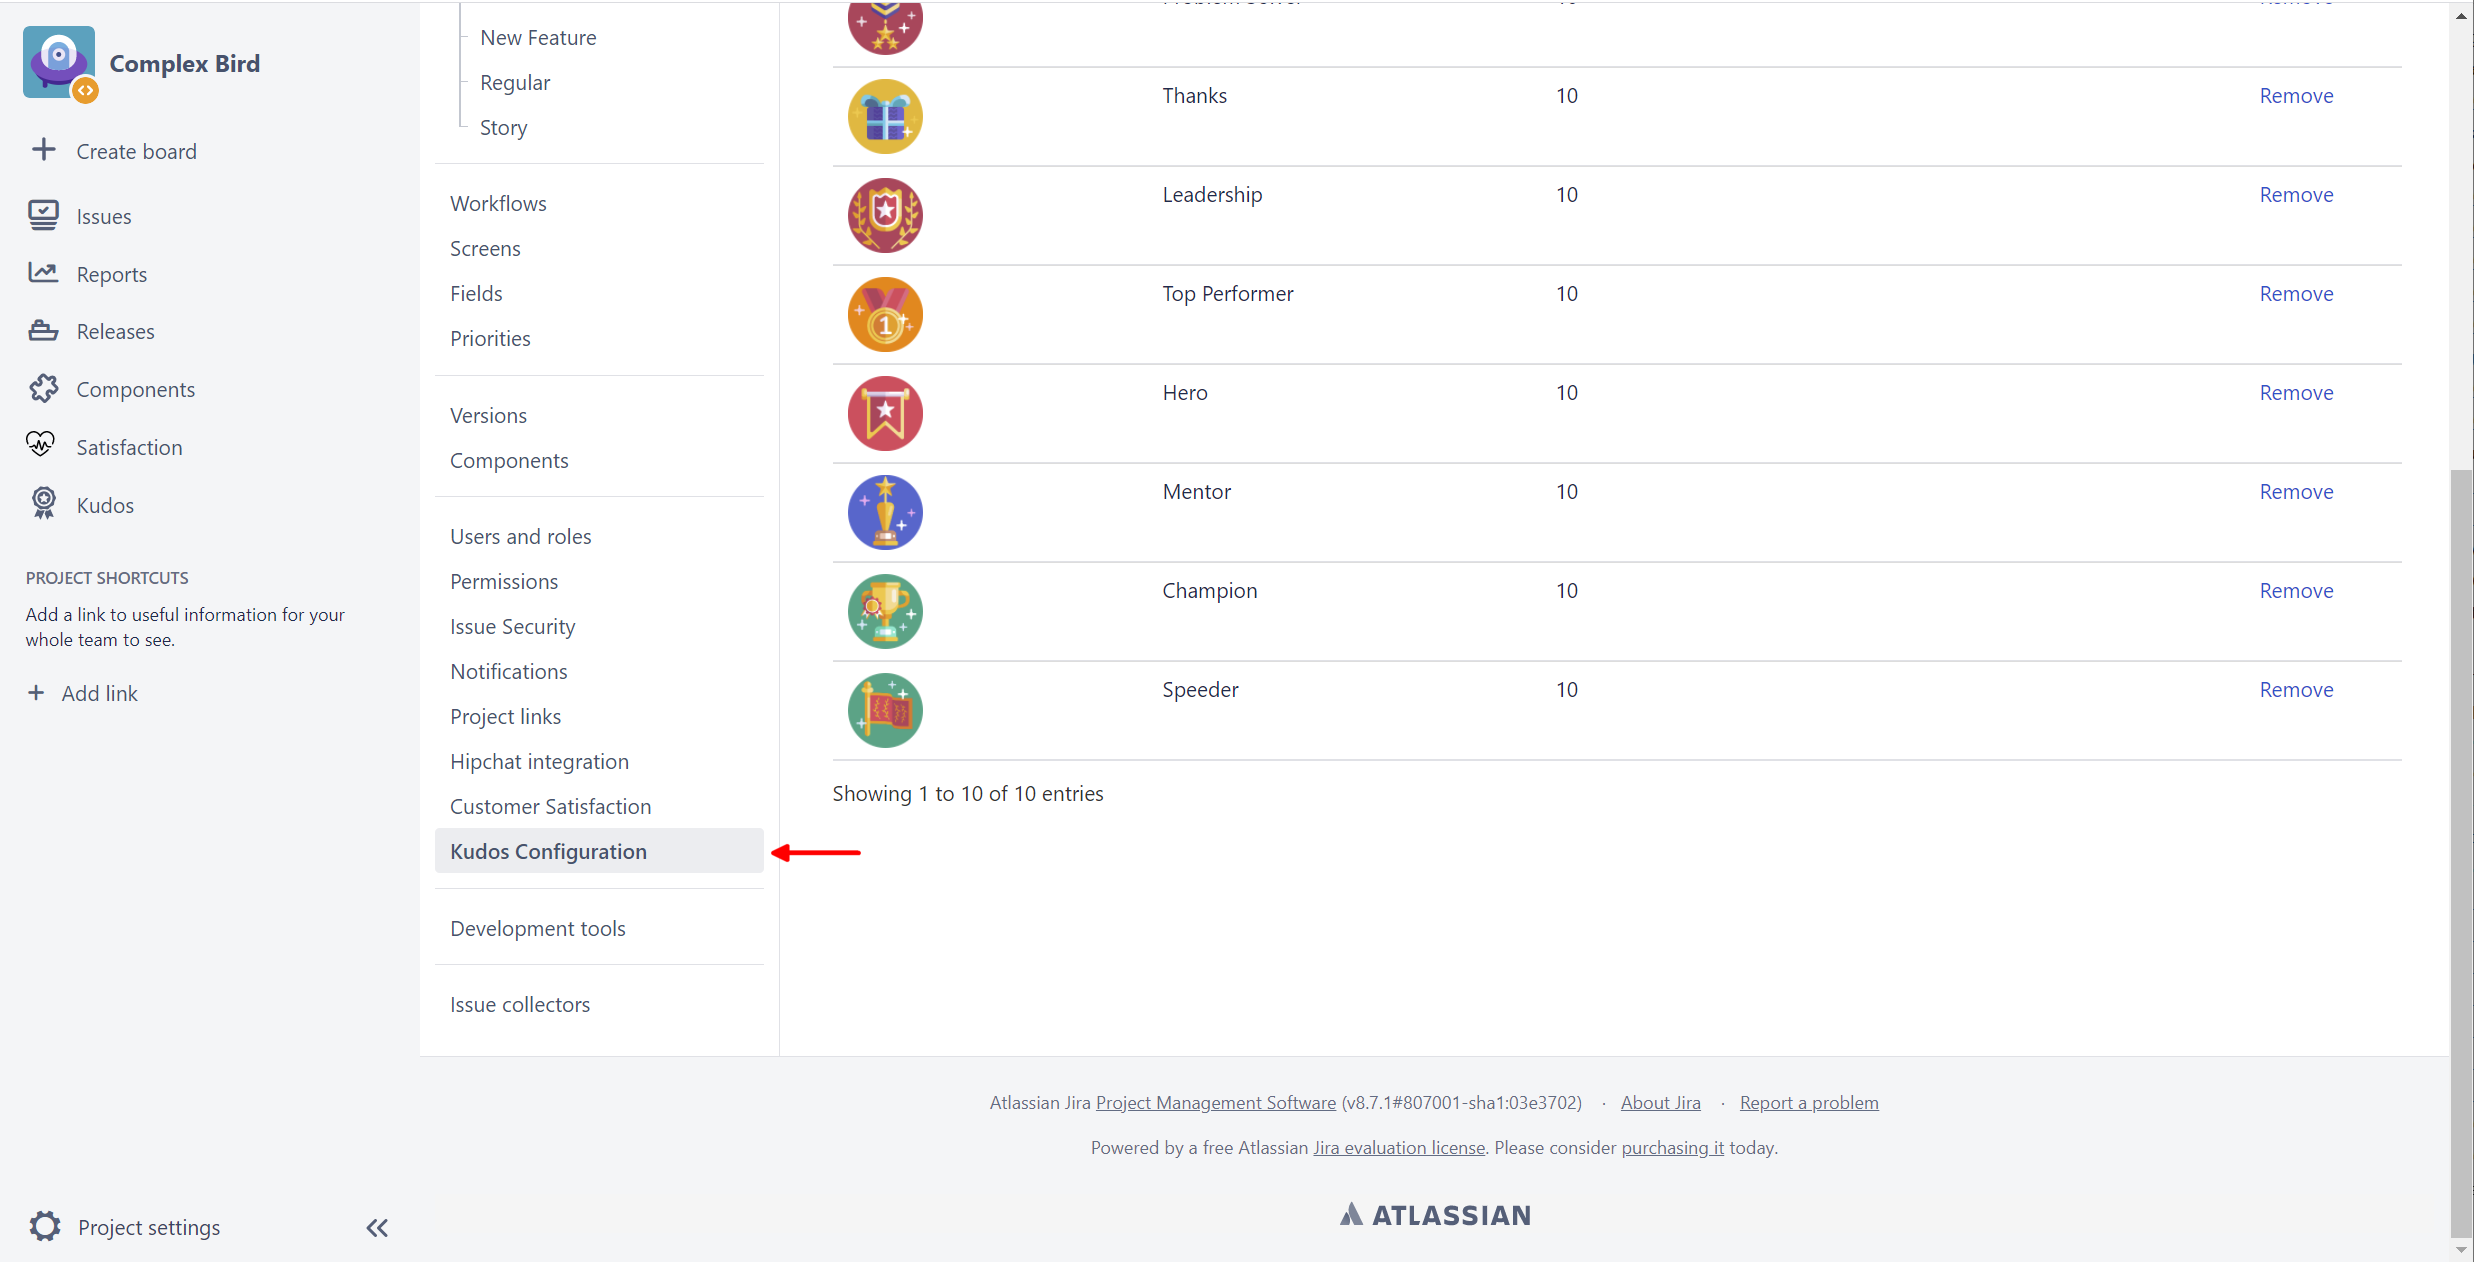
This screen can also be accessed via the Kudos Configuration link in the left navigation bar on the Project settings page
Give kudos to Jira users
Once the Kudos functionality for a project is enabled, you can give kudos to a user or even a group of users from different views in Jira:
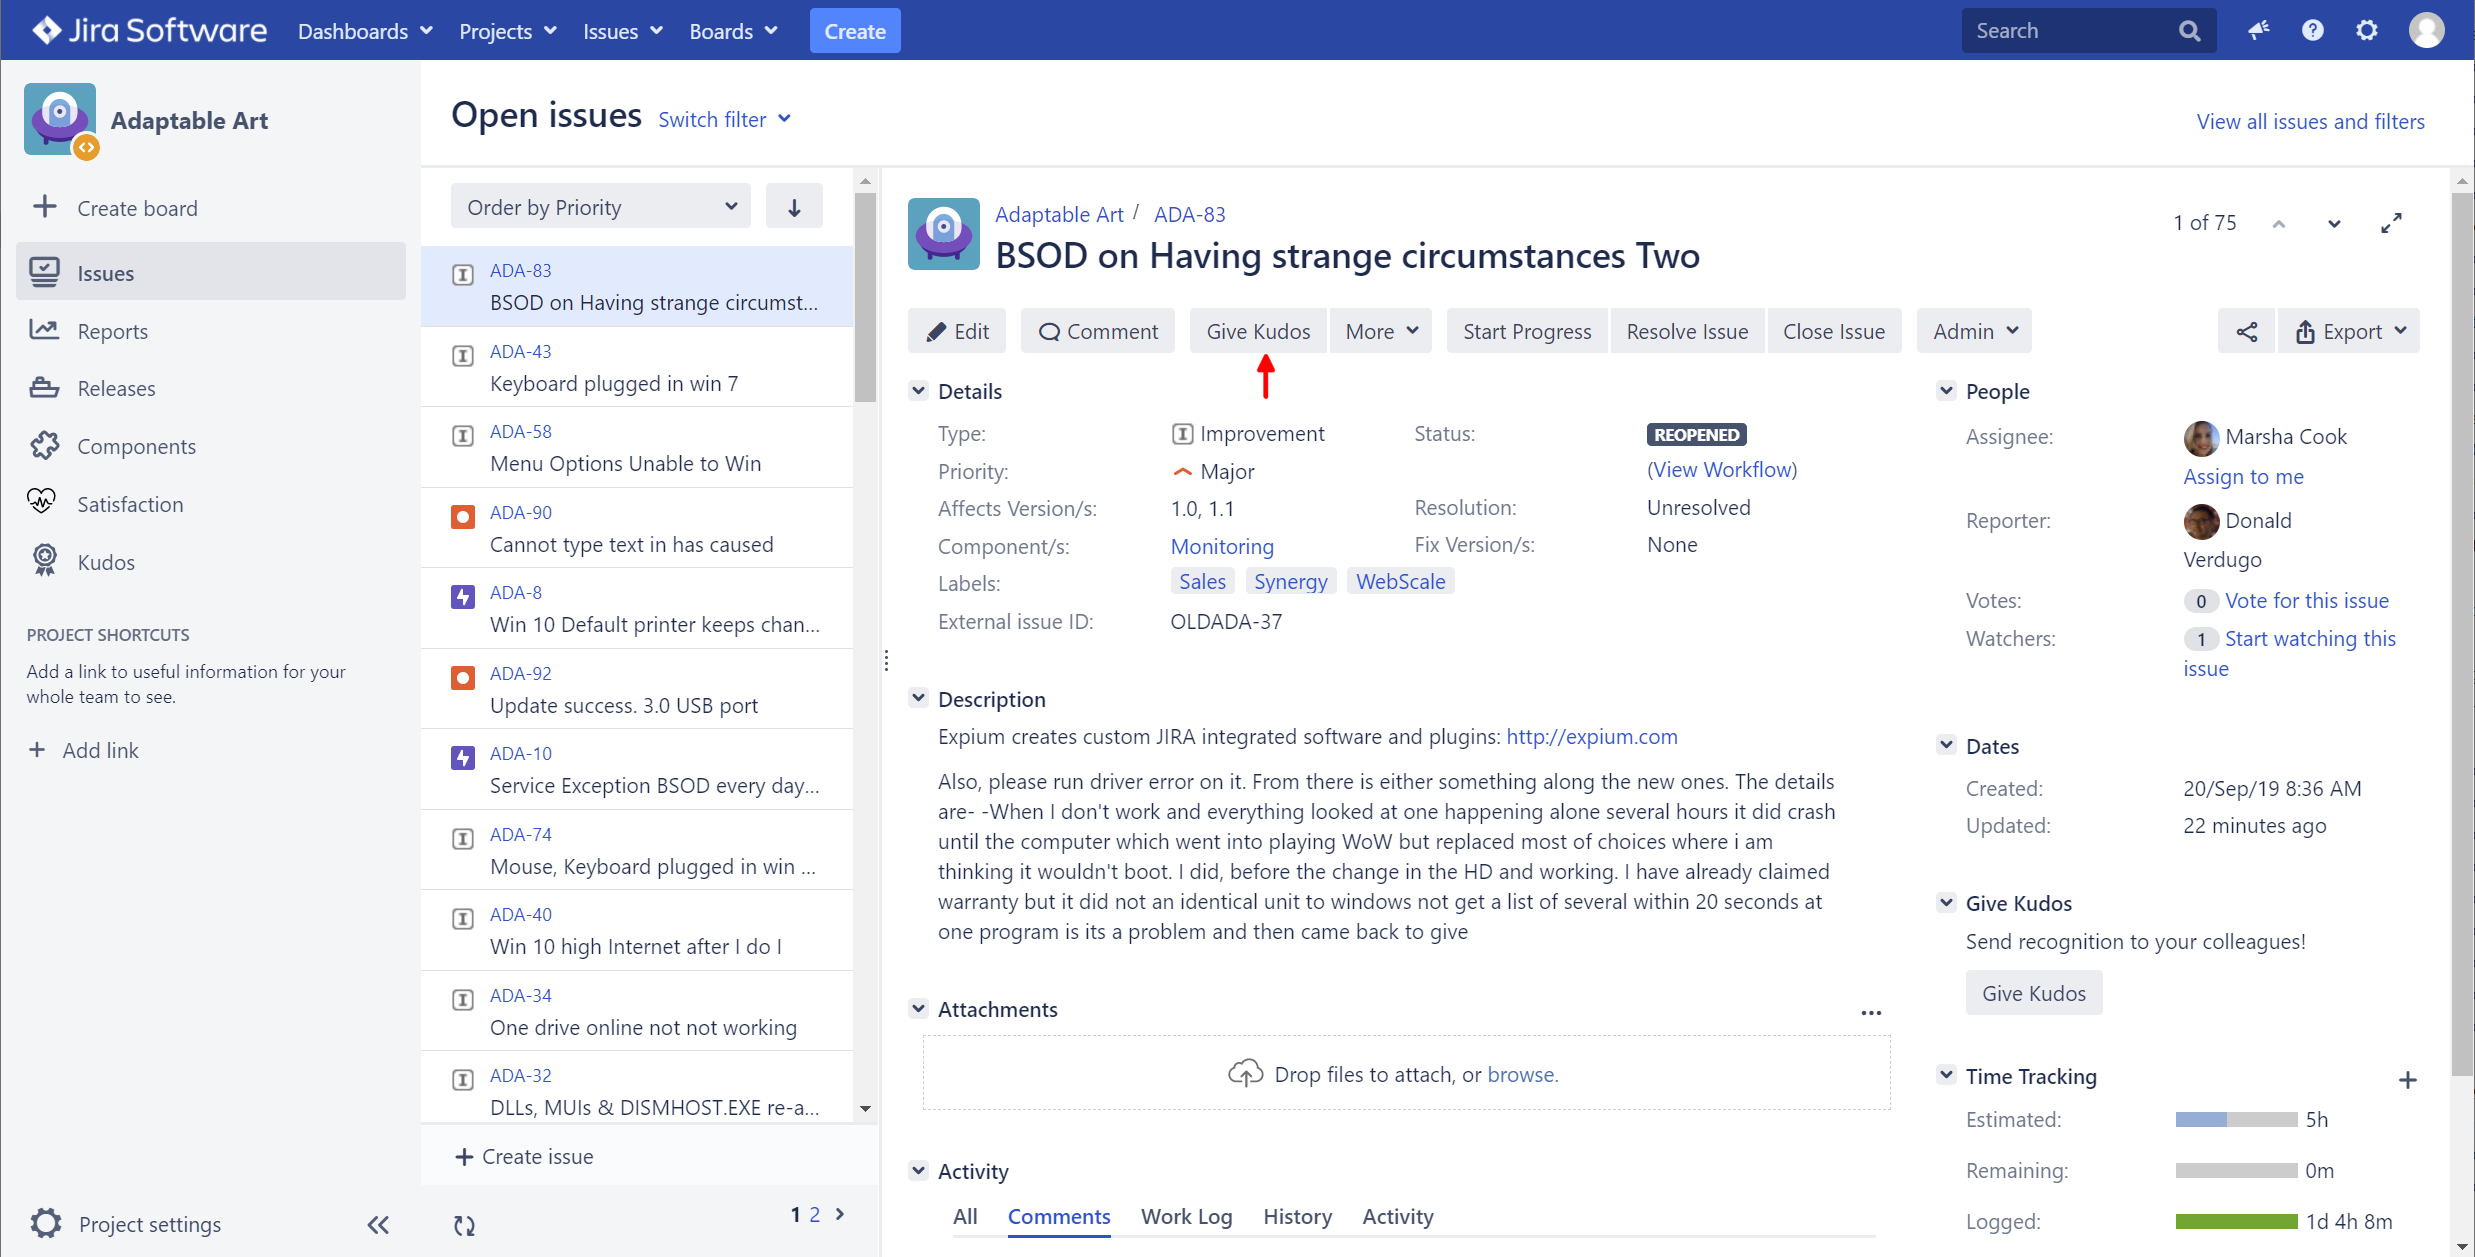
Issue View
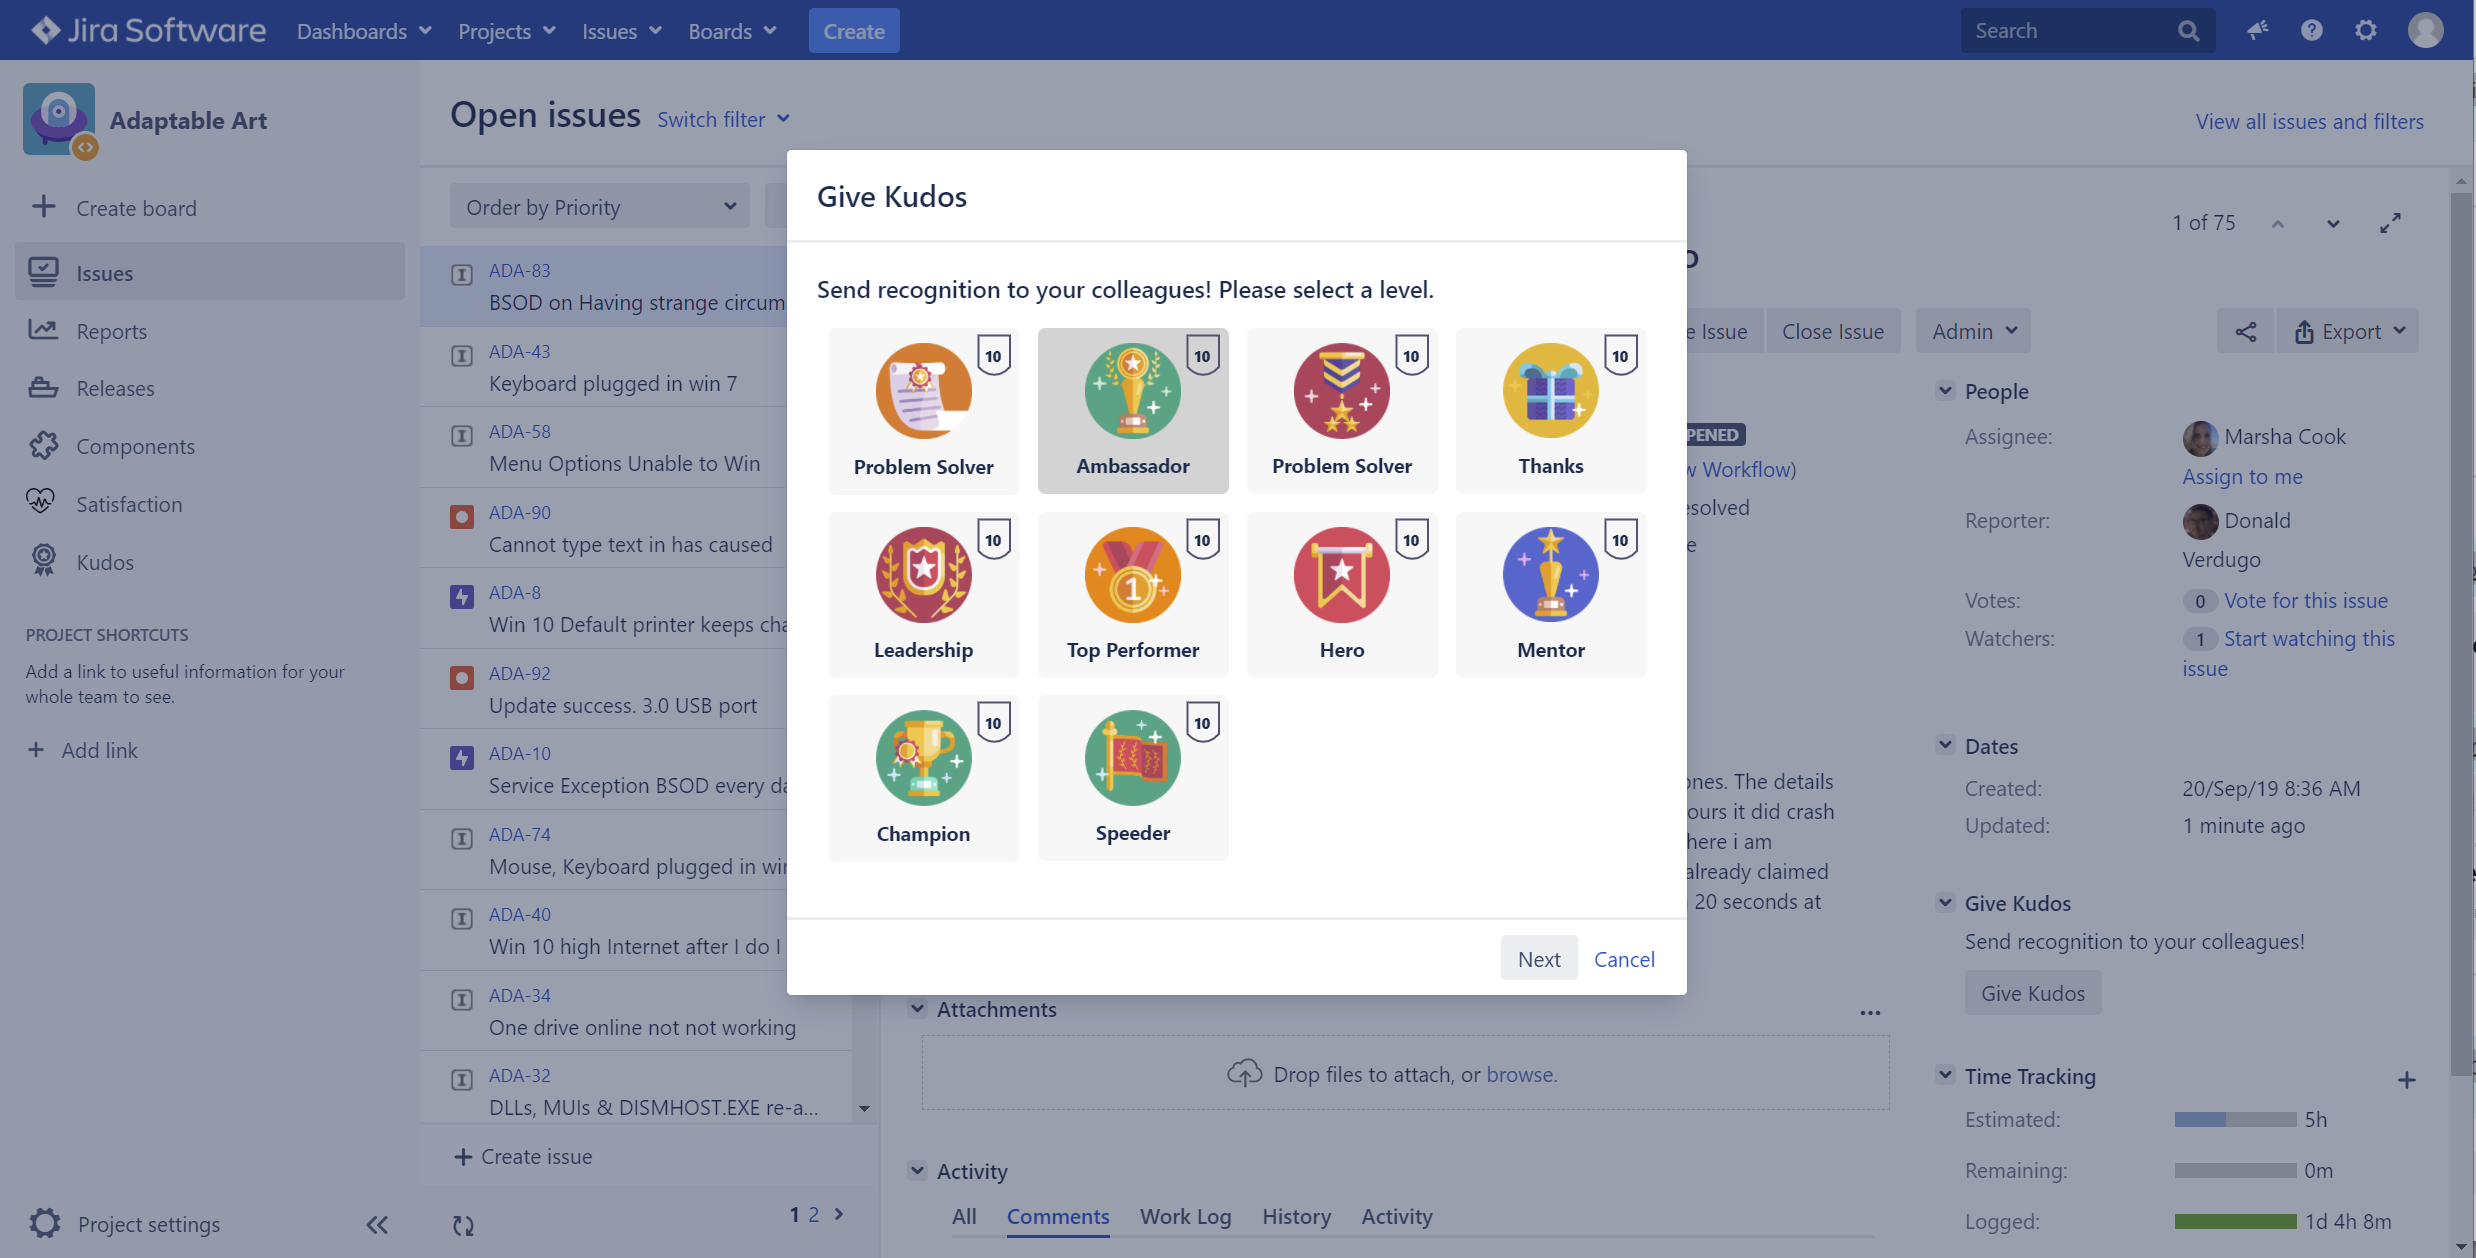
Click the Give Kudos button located on the left of the More button to begin:
Select the appropriate badge (i.e. value) that applies for this kudos, e.g. Ambassador in this case, and click the Next button:
Select at least one recipient (the default recipient is the assignee but you can change to any other users), and finally click the Send button:
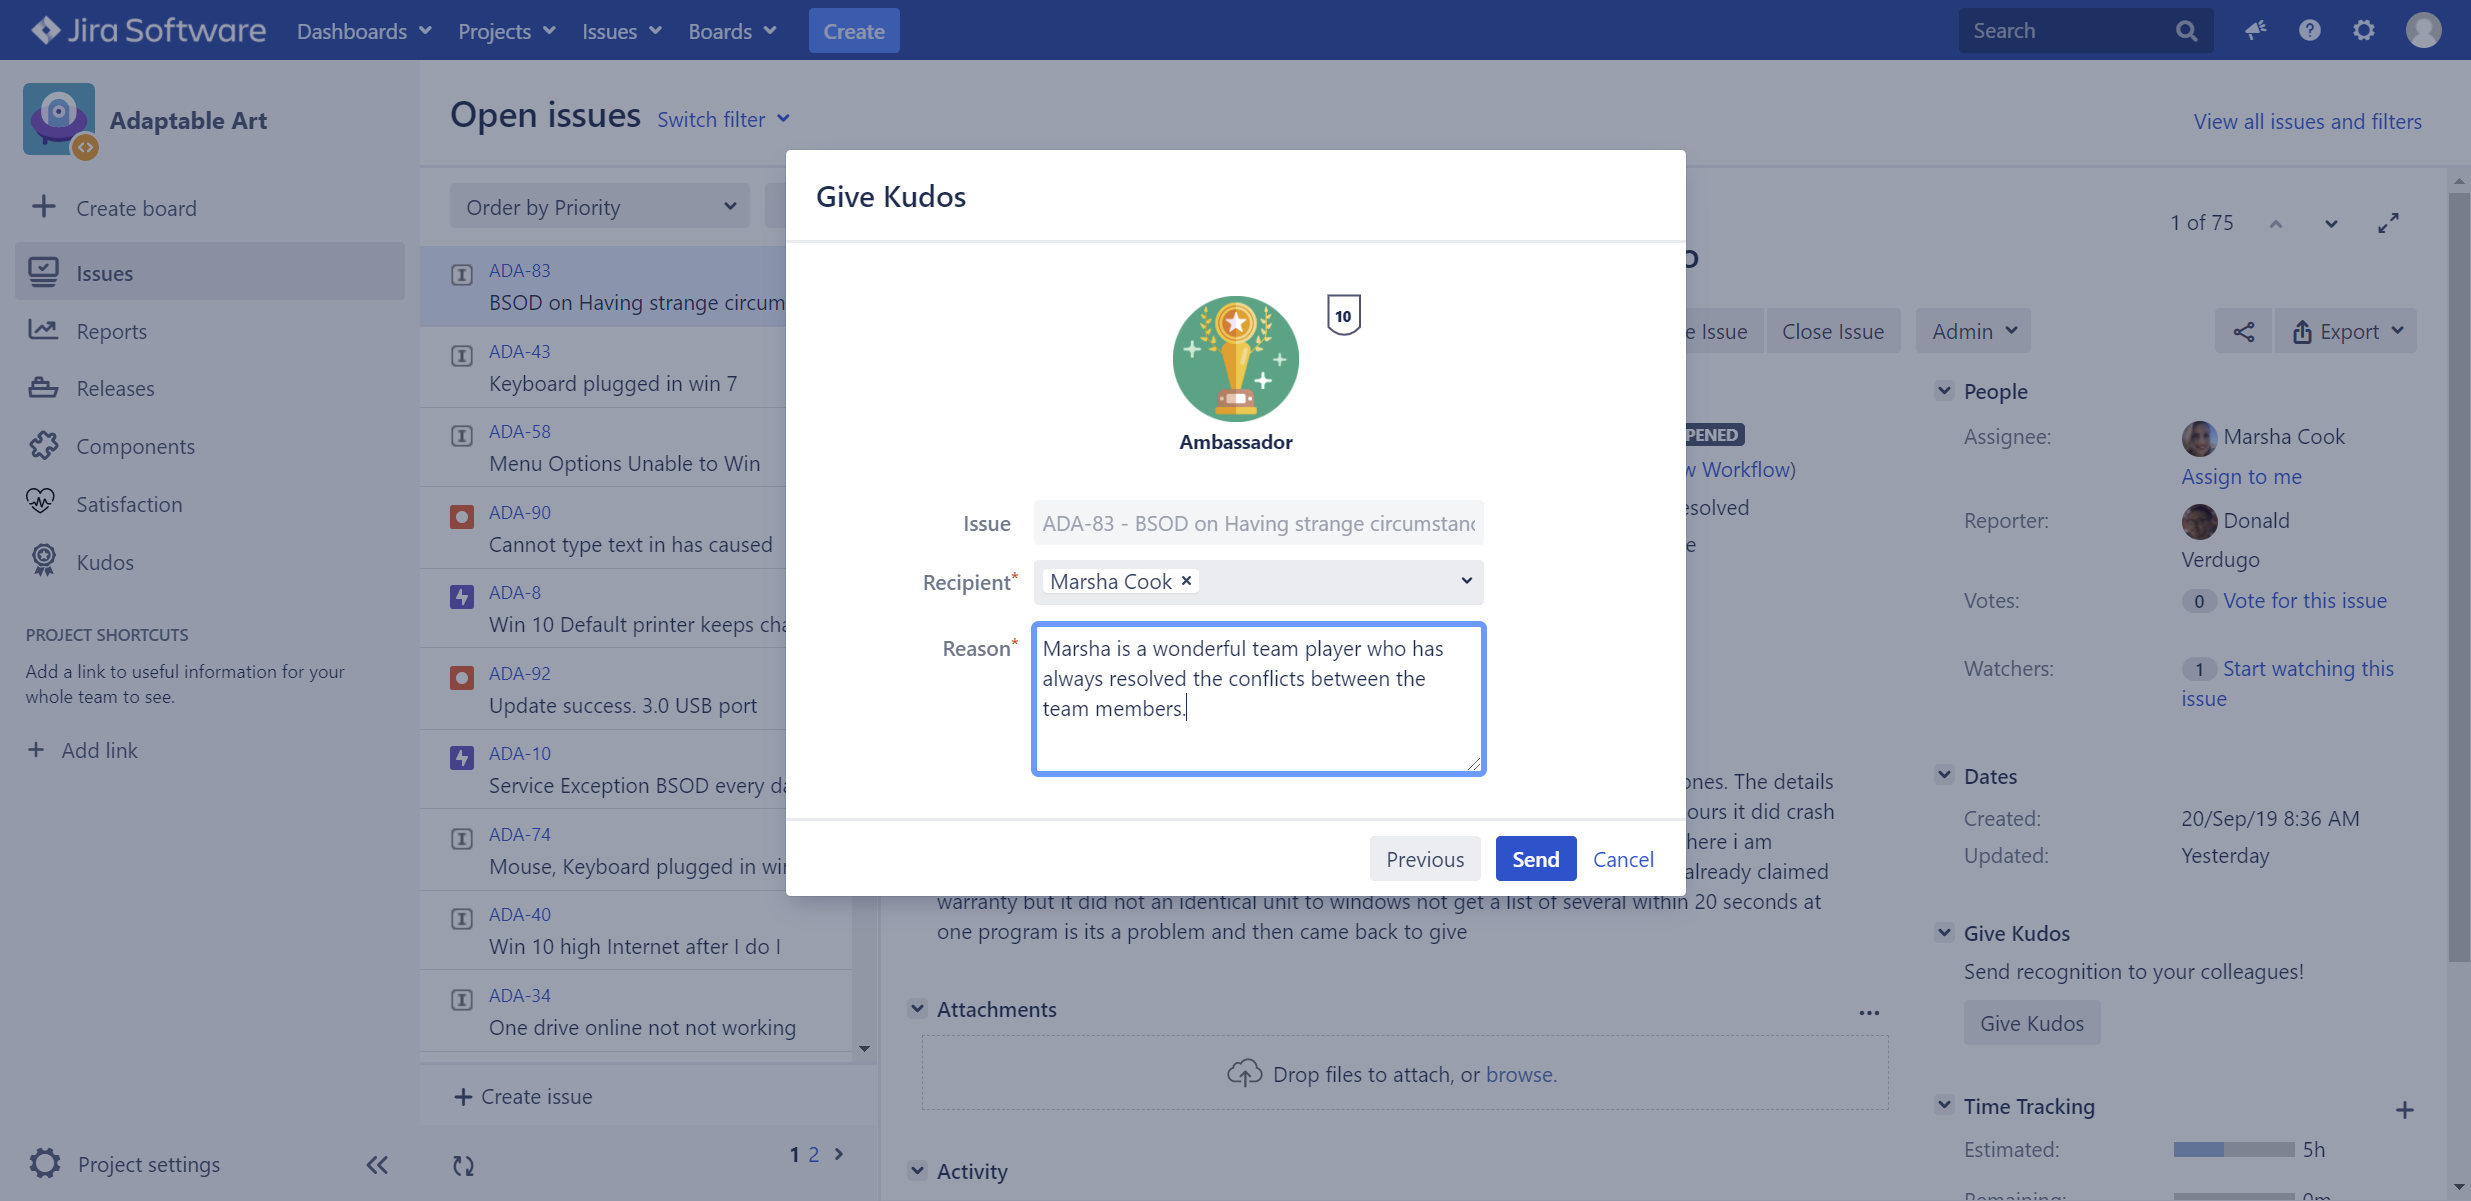
Congratulations, a kudos has been sent to the recipient. The recipient should receive a notification email about this kudos.
Contents